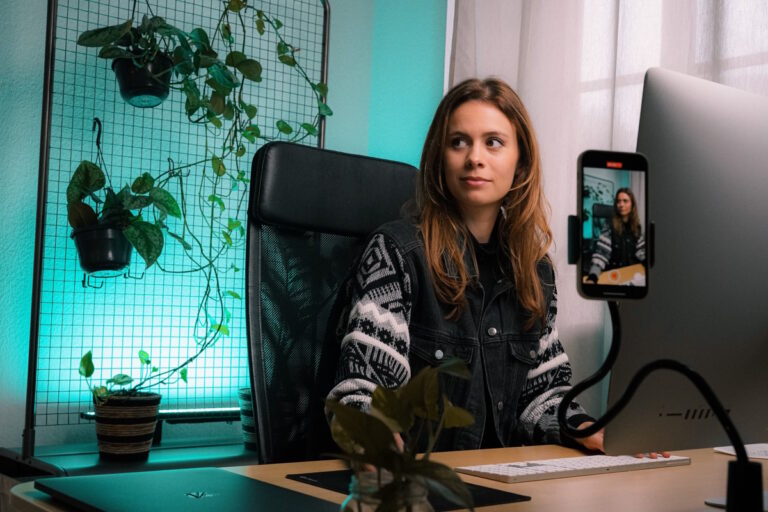
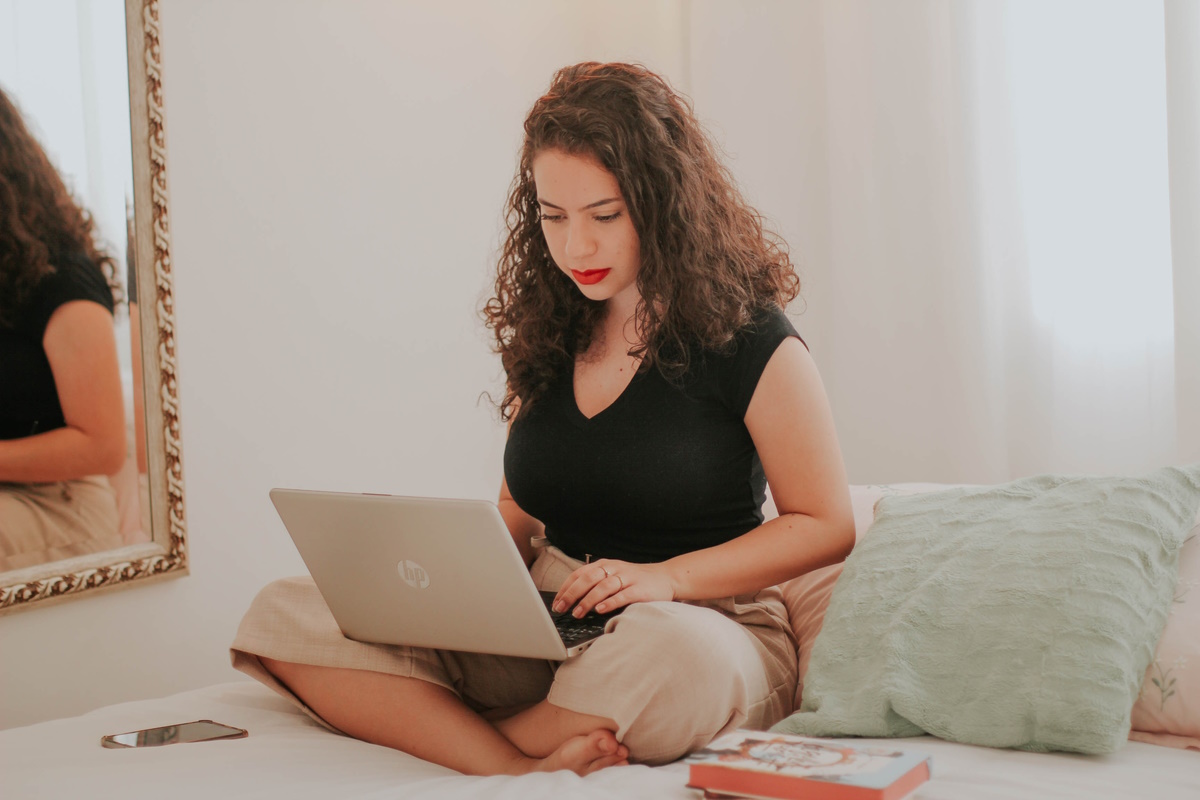
Lighting is an essential aspect of video making, and it can make or break your video. Whether you’re filming a tutorial, a vlog, or a product review, good lighting can make your video look professional and polished. But, where do you start? Understanding the basics of lighting and experimenting with different setups, colors, and angles can give a unique and professional look to your video.
Here we are sharing seven tips and tricks to help you master the art of lighting for your YouTube videos. So, whether you’re a beginner or an experienced videographer, keep reading to learn how to use lighting to take your videos to the next level.
1. Understand the basics of lighting: Before you start filming your YouTube video, it’s important to understand the basics of lighting. This includes understanding the different types of lighting (such as natural, ambient, and artificial lighting), and how they can affect the overall look and feel of your video.
2. Use natural lighting: One of the best ways to light your YouTube video is to use natural lighting. This can be done by filming during the day, or by finding a location that has plenty of natural light. Natural light can be used to create a warm and inviting atmosphere, and it’s also a great way to save money on lighting equipment.
3. Add artificial lighting: While natural lighting is great, it’s not always enough to get the look you want. In these cases, you can add artificial lighting to your video. This can include things like lamps, overhead lights, or even a ring light. Make sure to use softboxes or umbrellas to diffuse the light and avoid harsh shadows.
4. Experiment with different lighting setups: To get the best possible lighting for your YouTube video, you should experiment with different lighting setups. This can include using different types of lights, adjusting the placement of lights, and playing with different angles.
5. Add color to your lighting: Another great way to add visual interest to your YouTube video is to use colored lighting. This can be done by using colored gels on your lights, or by using colored bulbs. This can add a unique and creative touch to your video, and it’s a great way to set the mood.
6. Use backlighting: Backlighting is a great way to add depth and dimension to your YouTube video. By positioning a light behind your subject, you can create a halo effect that can make your subject stand out from the background.
7. Adjust your white balance: Lastly, make sure to adjust your white balance to match the type of lighting you are using. This will ensure that your video looks natural and that the colors are accurate. If you’re not sure how to adjust your white balance, consult your camera’s manual or consult a professional.
Lighting is an essential aspect of video making, understanding the basics of lighting and experimenting with different setups, colors, and angles can give a unique and professional look to your video. Remember to adjust the white balance to match the type of lighting you are using for accurate colors and natural look.


