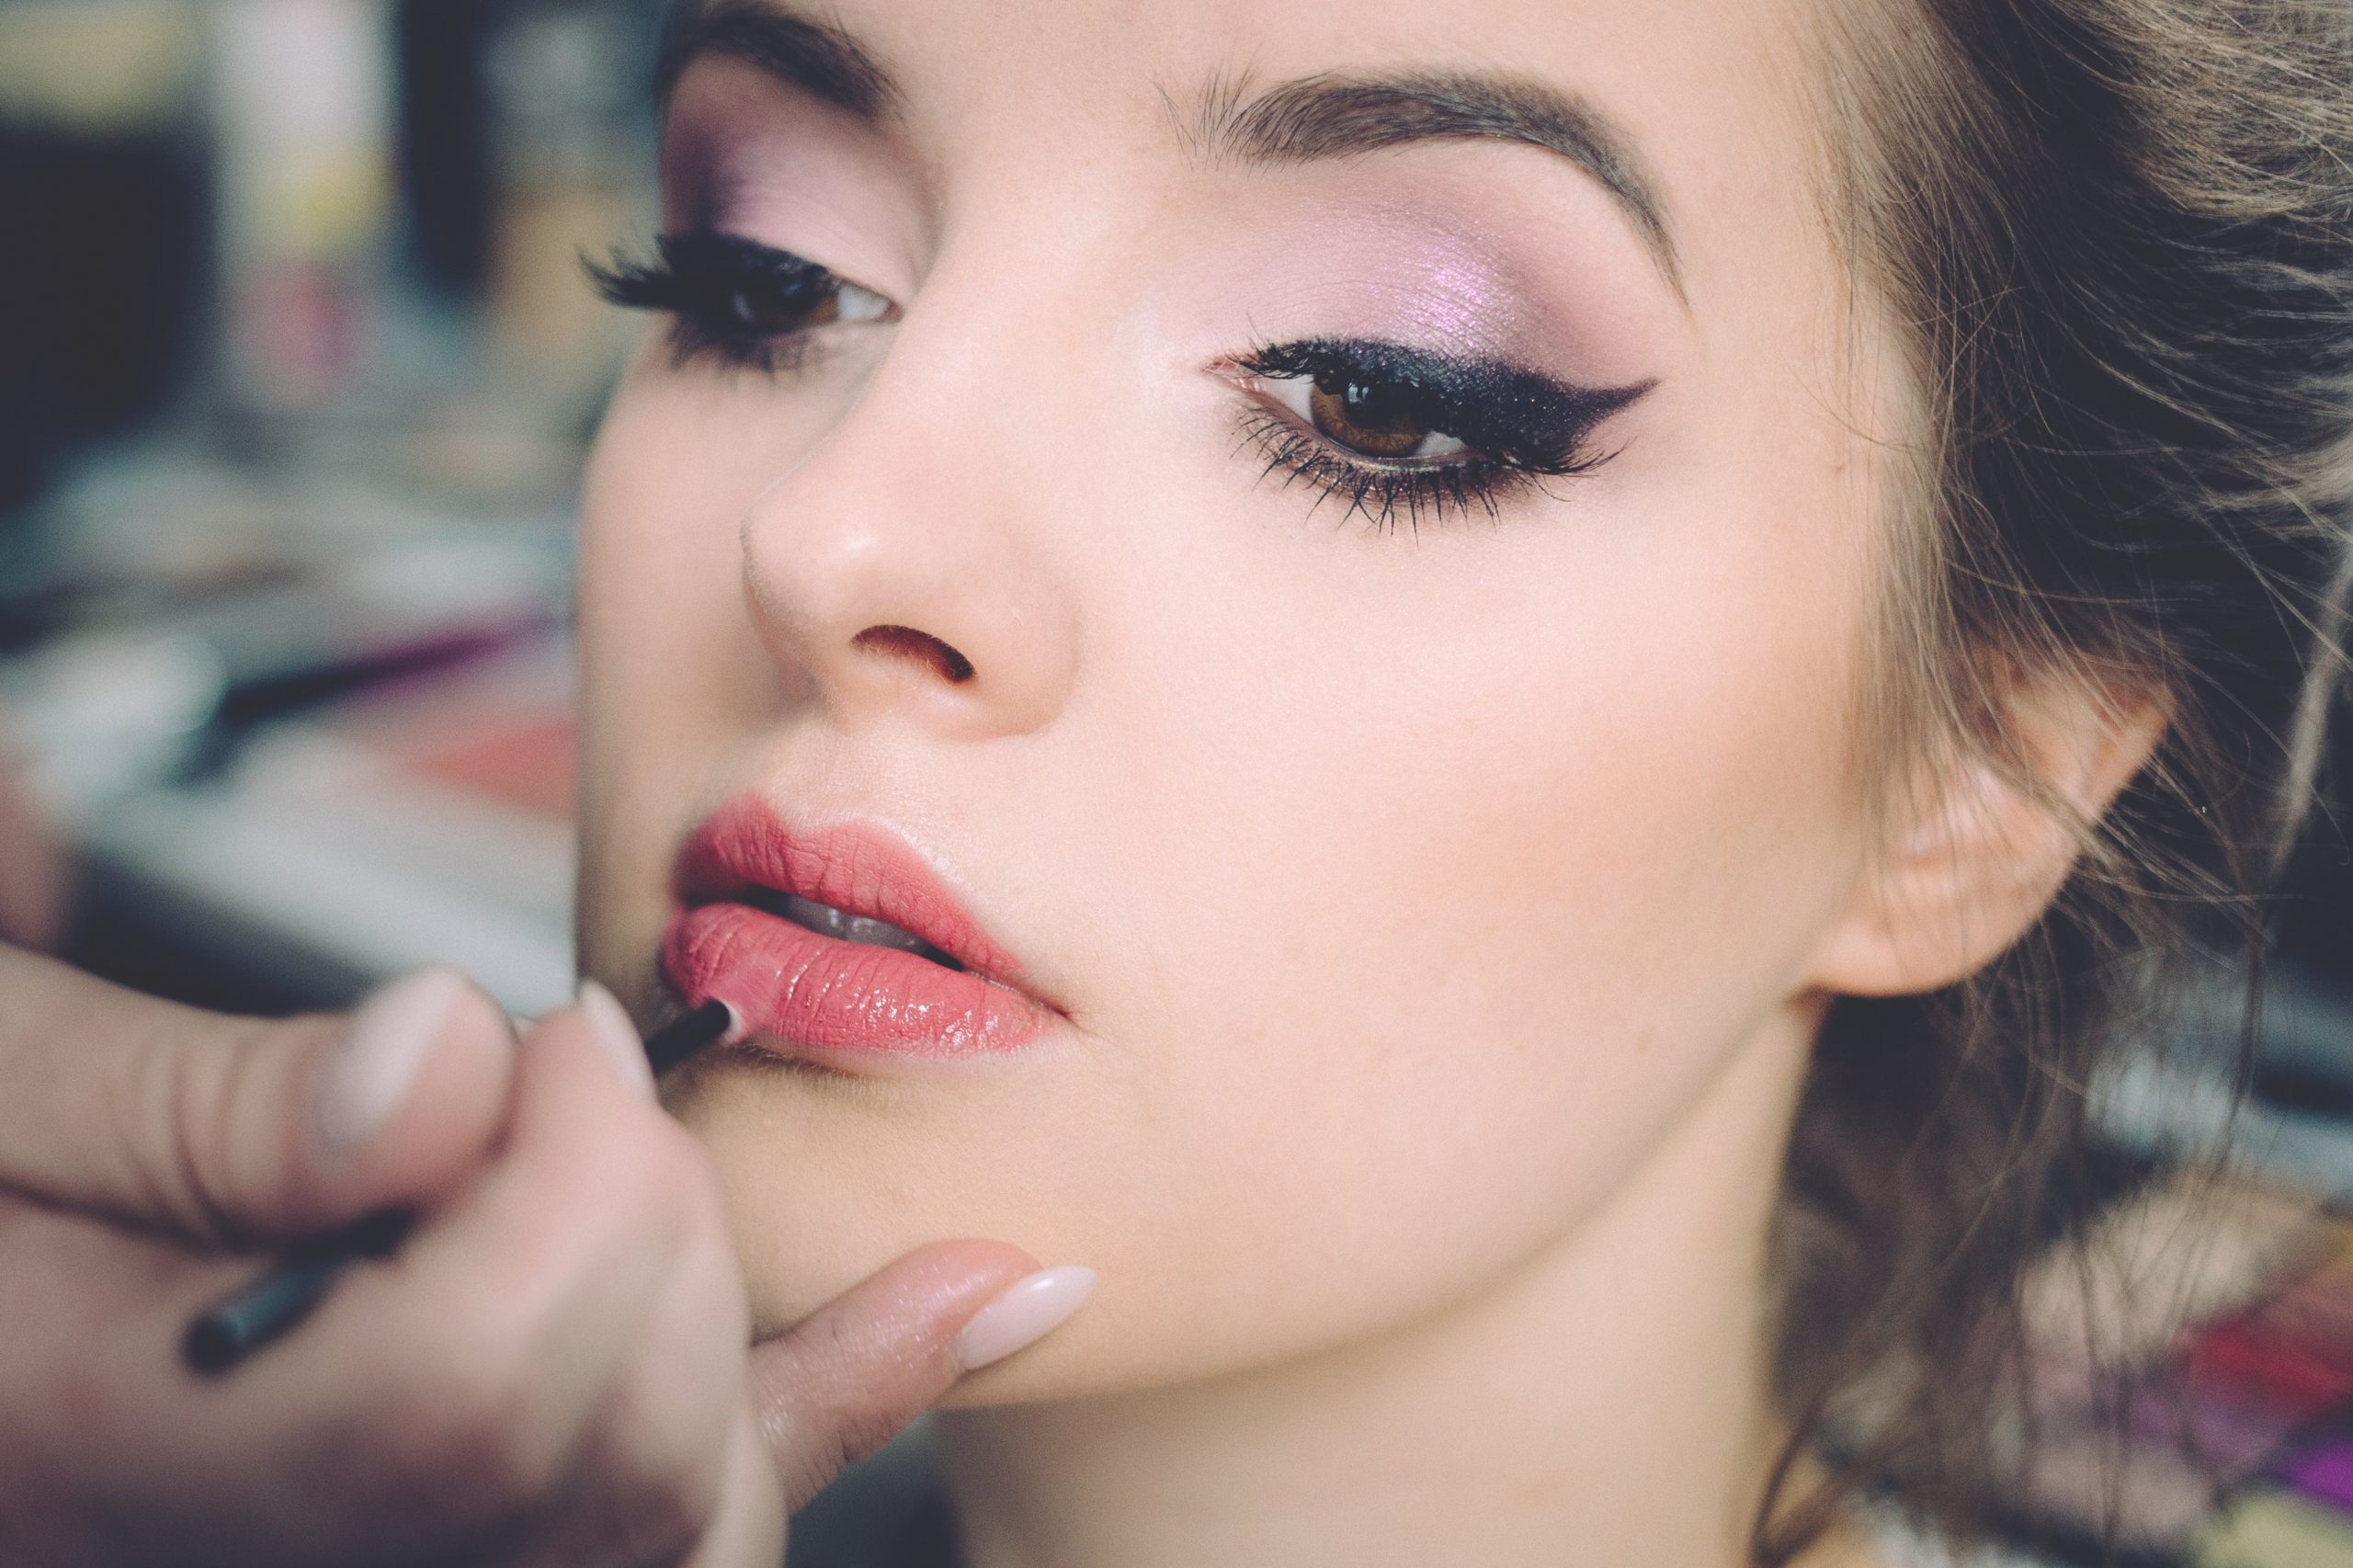
There would hardly be anyone who is not enchanted with makeup and is unimpressed by false eyelashes. Perfect for making your eyes pop beautifully, fake lashes are a game-changer. The only apprehension when it comes to fake lashes is the application process. But there is nothing to fear anymore!
Fake eyelashes can be put on without much effort and would not take up a lot of time. If you know what mistakes to avoid and what steps to follow, you will make false lashes a permanent addition to your kit. Here are some simple steps to apply fake lashes like a pro:
-
Make your Natural Lashes Ready
First things first, you need to have all the necessary tools at hand before you get ready to apply fake lashes. After that is done, you would need to tend to your natural lashes. This is the time to do your eye makeup. Instead of using the eyeliner as the final step, use it now. Make a thick line with your eyeliner so that the glue you apply does not show.
It is advisable to put the lash glue over any makeup that you already have so that the contact between your skin and the adhesive is minimized. Pick your eyelash adhesive wisely as it can trigger irritation. Some experts advise that you put mascara on your natural lashes at this point, but it would be better if you refrain until you put on fake lashes.
-
Customize your Fake Lashes
Here comes the part of applying fake lashes that would influence your overall look. The eyelid size varies from person to person, so it becomes essential that you trim the fake lashes as per your size. Simply hold up the faux lashes to your eyelid and cut off the excess.
You can use the excess as a second layer to the outer edge of your eyelid. Or you can keep them aside and use them individually in case you don’t want to put on false lashes over your entire eyelid.
Some makeup enthusiasts also advise cutting up the lash set into parts of three so that they better fit the curve of your eyelid. It would be better if you first try customizing cheaper lashes than trying it on your new mink ones.
-
Apply Glue
Now that everything is ready, you can jump to the actual process. Use a brush with a fine tip to apply the adhesive just above your lash line. Here comes the tricky part. You need to ensure that the glue line is close enough to your actual lash line so that it mixes with the natural lashes.
But, it should not, under any circumstance, be right on top of your natural lashes. If that happens, wipe the adhesive off with an oil-based makeup remover immediately. Failing to do that can cause breakage. When you have determined where you will put glue, you need to pay attention to the amount of glue you are using.
The excess adhesive would not ensure that your lashes stay in place. It would just get runny and possibly touch your natural lashes. Make a thin strip of glue that stays on the eyeliner line you have drawn.
-
Wait for Glue to get Sticky
When you have successfully applied glue to your eyelid, wait. Do not immediately jump to application. The eyelash adhesive is runny, and if you use the lashes immediately, chances are they won’t hold the position you want to be in. Ideally, wait for about 15-20 seconds after applying adhesive before you attach false lashes.
Even then, do not place it all at once onto your eyelid. Start from one end and press down gently, following the curve of your eyelid. Keep the lashes away from the innermost corner of your eyelid as it might impact your vision. While this process can be done by hand, you can use tweezers if you are not comfortable.
-
Use Mascara to Blend the Lashes
Wait for at least thirty seconds after attaching the lashes. After they have been set in place, you can work on blending your natural lashes with your new fake ones. It would be best if you did not put mascara until after attaching lashes because they are ideal for merging your natural lashes with fake ones.
Since there will be a small space between your natural lash line and your false lashes, you need something to mix them. Eyelash curlers are also used to achieve the same effect, but you can hold off if you are a beginner. Chances are, the fake lashes would come off if the curler is used incorrectly. On the other hand, Mascara would give them the bird that they need without risking your fake lashes falling off.
Conclusion
Now you are all set to buy your pair of false lashes and put them on without any qualms. Now that there is no hard and fast rule about how you want to use them. You do not have to put the entire false lash on your eyelid if you don’t want to. You can use them just on the outer edges of your eyelid for a winged lash line.
A little word of advice, never close the eye on which you are applying the false lash. Closed eyelids have a longer length than open ones and can change the entire outcome of the process. Tilt your head and look straight into the mirror as you apply your lashes. This would give a good vantage point.
If you feel that the pair you have isn’t working for you, you can try other varieties or change your vendor. Try Starseed faux eyelashes while you are at it. From minsk to silk lashes, you have countless options, and do not hesitate when it comes to using only quality products.
Do not go by others’ accounts of failures while applying false eyelashes. Just be calm and follow the steps and voila! You are good to go. Try it on your own and see.
Photo by freestocks on Unsplash


