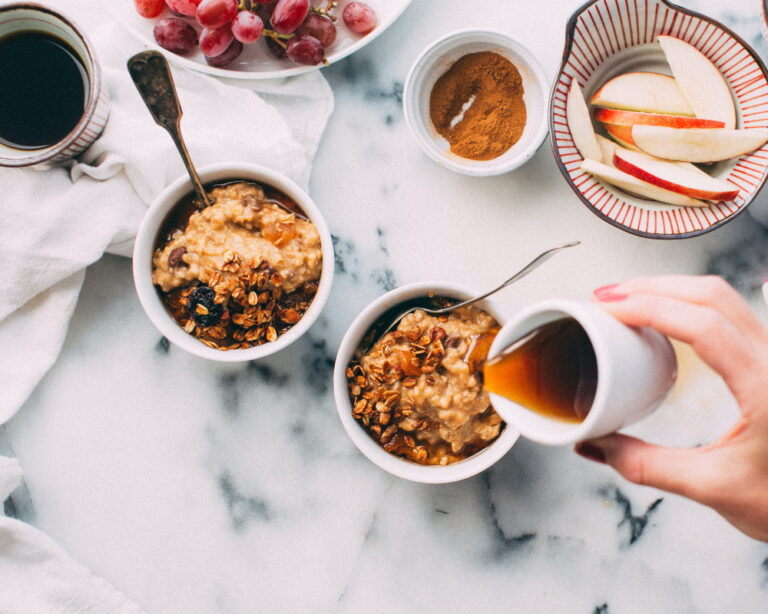
Food photography and blogging attract followers like bees to flowers. Similarly, cooking videos go viral quickly, especially ones that offer recipe ideas and unique methods. People often enjoy trying out new styles, recipes, and cooking hacks.
What’s more, if you’re good at filming and have the time to edit and add effects, then you could be making some serious cash by sharing your cooking skills on YouTube and other such platforms. After all, cooking videos are currently among the most popular internet trends.
So, whether you want to become the next big name in food vlogging or you just want to share your recipes for healthy vegan foods, here’s a step-by-step guide on how to do it.
How To Make Fantastic Cooking Videos
Let’s look at the steps one by one:
Step 1: Plan And Script Your Video
This is an essential step in developing a great video, especially a cooking video. You must decide on a recipe, prepare ingredients, and think about how to explain the steps. You must then include the information in your script and your shooting checklist.
Additionally, even with a clear and precise recipe, you can improvise while presenting it. Doing so allows your presentation to flow better and makes it sound more organic. However, remember that too much improvisation may cause you to go off track.
So, try to keep a balance. Also, be sure to have practiced your recipe and how to present it before the actual shooting.
Another tip while planning is to ensure that your recipe hasn’t already been used too many times. An original recipe will probably work best if you want your video to go viral. In addition, captioning your video allows your video to be found faster during a search for a recipe.
Step 2: Get Good Equipment
Video shooting always goes better when you have good equipment. This includes a camera, a tripod, a mic, a video lighting kit, and a video editor.
Your camera could be your smartphone camera or even a proper one if you have it. Choose whichever you’re comfortable with.
However, whichever type of camera you decide on, having a tripod to hold it will make your life much easier. This way, you will not need anyone else to hold the camera for you while you cook, and it will reduce any shake that can come from even the steadiest of hands.
A mic allows you to be heard while recording. Additionally, it also makes doing a voice-over much easier, which, in turn, also makes editing much simpler. Voice-overs are also great for tutorial videos. You can also try text to speech online tools for creating voice overs.
A lighting kit. as the name suggests, helps improve lighting – and proper lighting goes a long way in enhancing the aesthetic of cooking videos.
Lastly, you can use some good video editing software to put it all together after you are done shooting.
Step 3: Shoot The Video
This step is fairly straightforward. Once you’ve set up your equipment and the ingredients you’ll need, you can start the shoot.
If you’ve paid attention, you may know that the host doesn’t do the actual cooking on the show in most popular cooking shows. Most often, the dishes are made before the shoot. Ideally, it would help if you did the same thing for your cooking video.
Thus, you’re essentially doing two shoots.
The first is an introduction of yourself and your dish in which you also explain the ingredients, recipe, and techniques used. This can be shot wide with good lighting to show you in a flattering light. Remember to dress nicely for this shoot.
The second shoot will be a close-up of the food being cooked. You show a ‘top-down’ shot of each of the ingredients and the steps in the recipe. This might require you to use a ladder or a stool to get the best and clearest shot.
Set up your camera high up to get this right.
Step 4: Edit The Video
Editing is the step where you put the two shoots together in the best way possible. It doesn’t matter if you do not know how to edit a video because it’s easy enough to learn, and there are many examples of software that can make the job easy.
Remember to get a scratch track of you explaining the recipe, which can become the audio for the whole video. This can be used as a baseline to get captions and even foreign subtitles, though you may have to use additional software for the latter.
Once you’ve done all these steps, you’ll have a full video that you can then proceed to post and share.
Some Additional Tips To Consider
Here are some additional tips to consider to make your cooking video even better:
- Consider Your Sharing Platform: The length of your videos will need to vary according to the platform you plan to share them on. For example, longer videos will work better on YouTube, while on platforms like Facebook, Instagram, and TikTok, you’d be better off with shorter ones. The dimensions of your video may also need to vary depending on the platform.
- Film Every Step Of The Recipe: Be sure to shoot the entire process of creating the dish, even if you don’t use it all in the video. In addition, share any useful hacks or tricks that can make the process easier. This can even become a video on its own.
- Display The Finished Recipe: You’ll want to show the viewers what the finished dish should look like. You can make it a mouthwatering experience for them by showing how to plate and garnish and by showing the dish being pulled apart for a meal. For example, the slicing of a cake, tearing of fresh bread, etc.
- Choose A Good Title: Keep your title simple to make it easier for people to find your video using a search engine. A difficultly named dish will be harder for people to remember and spell. Your title must also have enough detail so people can find what they’re looking for.
- Tag Your Video: Tags make it easier for search engines and, in turn, people to find your video. Use tags related to your dish and also broader tags like ‘beginner,’ ‘how to,’ ‘cake,’ and so on that will widen your audience.
Conclusion
Cooking videos are currently among the most popular internet trends. Now that you have read through the step-by-step guide, you’re ready to go shoot your own cooking video with recipes for healthy foods and any other easy recipes for beginners you may want to share. Have fun!
Photo by Food Photographer | Jennifer Pallian on Unsplash


