

A true artist knows it’s not easy to create a masterpiece. It takes hours of pain staking effort on the drawing board to produce a quality piece.
The creativity it takes to design a painting, graphic, an image, or a sketch, is truly a gift.
In the end, the final product needs to look good. However, not every designer prefers to work with a real canvas. Nowadays, a lot of designers are using technology to create and are able to preserve their work digitally. But there are lot of graphics software available out there.
So, which photo editor, design and editing software should I use? Interesting, you should ask. We searched, tested, and really liked CorelDRAW. That’s right, it is from, Corel.
CORELDRAW is a top notch graphics design software, used by the best designers in the world. What makes it the best graphics software though? We are going to answer that very question, in this review of CorelDRAW.
CorelDRAW has a very nice interface, which is easy to use, and somehow it is very much like its older versions. This is good if you are familiar with CorelDRAW from the past. There are a few toolbars in the GUI, which we will examine. The central portion of the program, has a large white pane. This of course, is your canvas, where you will be creating your art, editing it, and so much more.
This is called the workspace area, and it is actually very customizable. You can select a workspace (from many available templates), which not only resembles older versions of CorelDRAW, it may also be a trip down memory lane, if you are migrating from another graphics design software like Adobe Illustrator, you will be happy to know, that there is a workspace similar to it.
Now, coming back to the main interface of CorelDRAW, the menu bar on the top, is where you will begin with for most functions. The File Menu lets you open, save, and print files which you create and edit. The edit menu, has all the basic editing options you need.
It is also capable to function as a word processor to some extent. Yes, you can use CorelDRAW to add text content, and a variety of objects to your project. This includes QR Codes, Bar Codes, Geometrical Shapes, etc, all of which are a simple mouse click away, in the Objects menu.
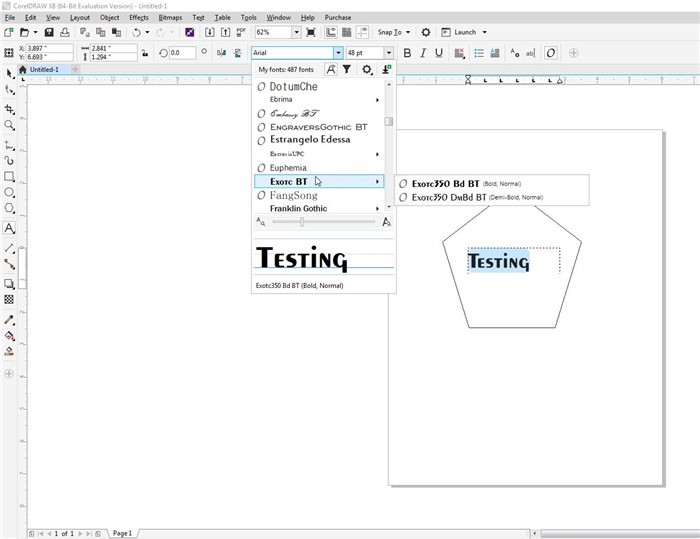
The Text menu in CorelDRAW is home to several text formatting options, such as inserting bullets, columns etc and also has some font customizations such as font styling. How does this make CorelDRAW a Word Processor though? It’s pretty basic? Ah, but there is more to it. That’s because CorelDRAW, has a built-in spell check tool, a thesaurus and a grammar checker. The latter uses Corel’s Grammarly, the company’s own grammar checking software. Only a true word processor would have these features, right? But wait, there’s even more to it.
And you can also use CorelDRAW, to identify the fonts which are unfamiliar to you. This feature is aptly named as the Font identifier. It uses an OCR (Optical character recognition) technology to recognize the text content if it is in an image. Additionally, you can even insert tables, in your documents. So, yes this means you can work with Microsoft Excel files too, you can import the files to CorelDRAW. The same can be said about support for Microsoft PowerPoint files. This makes CorelDRAW a complete office suite too.
Here is the list of file formats which are supported by CorelDRAW: AI, CLK, CDR, CDT, CGM, CMX, CSL, DES, DWG, DXF, EMG, FMV, GEM, PAT, PDF, PCT, PLT, PPT, SVG, SVGZ, WMF and WPG.
Do you want to add some really cool effects to your photos and graphics? Yes, of course. And the Effects Menu in CorelDRAW, is home to the features, you are looking for. It allows you to add blend, contour, extrude effects to name a few of the available options, it is also capable of adding some advanced effects like Image Sharpening, Noise Reduction, Brush Strokes, etc. And it also has options to adjust various parameters such as the contrast, brightness, gamma, color balance, and more.
Let’s move on to the other important areas of CorelDRAW’s UI. A toolbar is present right below the menubar, and has shortcuts to some of the editing options which we mentioned above. If you wish to adjust the page layout, such as the page size, or adding a border to the page, you can use the layout editor to do so. IT has a plethora of pre-defined layouts, which are readily available from the drop-down menu.
You will find rulers on the top and on the left side of the workspace in CorelDRAW. So, if you are working with precise document measurements, say for a book or paper size, this is of great help.
To the left of the ruler on the side, is another toolbar. This is your image editing tool kit. You can use it for free hand drawing, to draw various geometric shapes, the cropping tool, the cutting tool, zooming in or out, etc. There is an eye dropper, which can be used for picking a color from a picture, and use it for your own editing purposes. The toolbar has options to add text boxes, draw lines, or even special effects such as object drop shadow and more.
A palette bar is available on the side bar to the right of CorelDRAW’s UI, and this allows you to pick colors to be used for your brush and editing work.
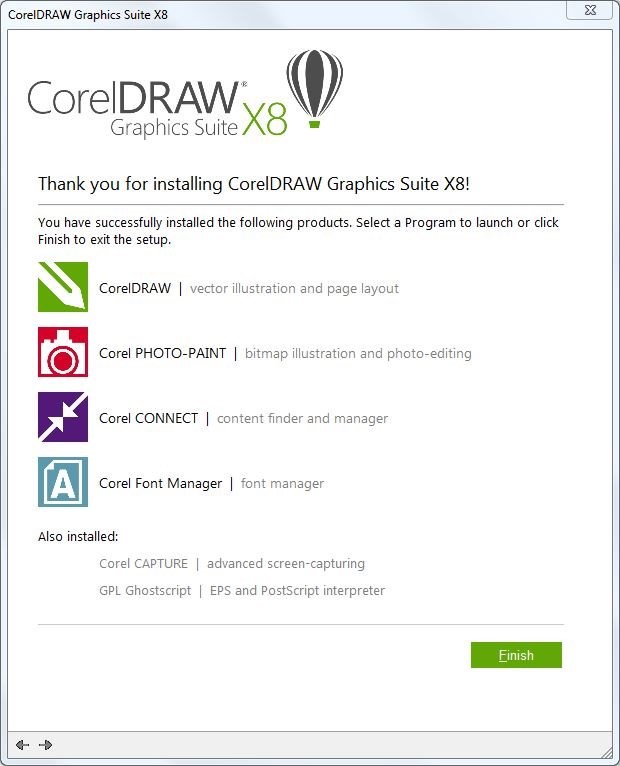
CorelDRAW really is a suite, because it comes with many other programs, which can function on their own, and or can be used with the main program itself.
The names of the standalone applications are:
Corel PHOTO-PAlNT
Corel CONNECT
Corel CAPTURE and
Corel Font Manager.
Corel PHOTO-PAlNT is actually a little bit more advanced than the CorelDRAW editor itself, in the sense that the former is a full fledged photo enhancement or beatufication. If you have an advanced camera, you will love this software. That’s because Corel PHOTO-PAlNT supports editing of RAW images, taken with your DSLR cameras or smartphone. You can use it for digitally enhancing the quality of the pictures, polish the photos by retouching, or to create paintings, advanced bitmaps
The next application, Corel CONNECT is not a photo editor, but a file viewer. To be precise, it is actually a media browser which can be to used for viewing photos in full screen. However, it also acts like a bridge between the afore mentioned program Corel PHOTO-PAINT and the main program in the suite, CorelDRAW, hence the name, Connect. It syncs files between the applications, and you can use it to find the pictures fast.
Taking screenshots on the computer, is not always easy as you think. Print screen can only help you to some extent, but in complex scenarios, you will want to take screenshots of menus, or just a portion of the screen, or maybe just the active Window. Corel CAPTURE can do all this and also capture screenshots of full screen content, and it cna do one more thing. It can also be used to record videos of your screen’s content. This is very useful for making videos for YouTube.
Remember how we told you about the Font tools, there is another cool one, called Corel Font Manager. It can be used for viewing the fonts you have, and also to organize and manage them. The best part is that you can use these fonts in CorelDRAW without installing the fonts on your computer. There are 1,000 Open Type Fonts, which are available with the program. That’s not the only free content, which comes with CorelDRAW. You also get a whopping 10,000 royalty-free clipart iamges, 2,000 high-resolution digital images, 350 templates, 1,000 fills, frames, patterns for free too.
Most graphics designers use a multi-monitor setup these days for multi-tasking bwtween programs, and CorelDRAW supports these monitor set ups, and you can even use 4K displays to work with the software. You can use CorelDRAW, to draw and edit in real time with touchscreen devices too, such as the popular drawing tablets from Wacom or the Microsoft Surface tablets, and other devices with a stylus pen.
You can use the tab bar, on the bottom of the CorelDRAW workspace, to switch between open projects, or close the files, if you are done with them.
If you wish to print documents or the art work which you create using CorelDRAW, on both sides of a paper, without reversing the orientation on one side of the paper, you are going to like this. CorelDRAW has a Duplexing Wizard, for this very purpose.
CorelDRAW works on all versions of Windows from 7, 8/8.1 and of course, Windows 10. You can find more information at the Corel Website. We also have spotted a good CorelDRAW Coupon code deal at www.couponbuffer.com/coupons/corel for those interested in saving some bucks.