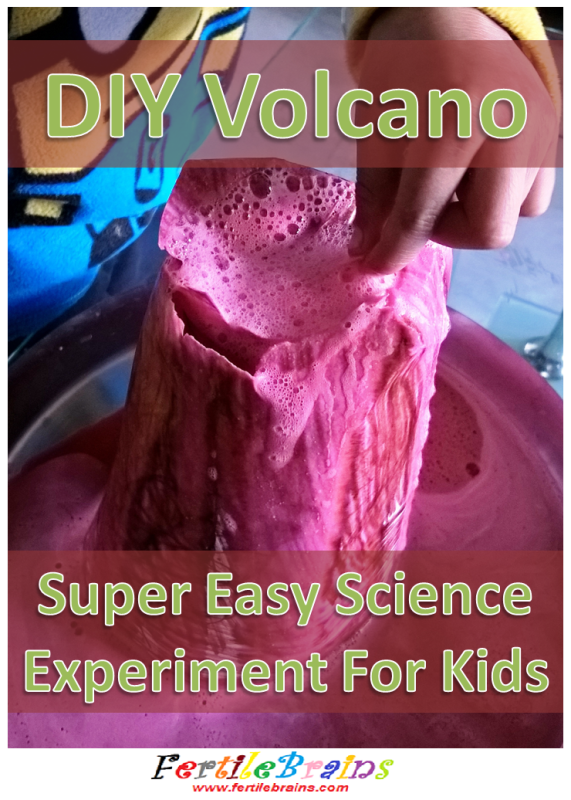
Sonny is a big science geek. Be it his love for all things astronomy, which I have talked about many times here on this blog, his fascination with magnets and pencil cells (he hoards them!) or his recently acquired admiration mixed with a dash of fear for volcanoes, he just can’t get enough. So when recently, he demanded that we try and make a volcano at home, what was a mom supposed to do, if not to make one?
So yeah, that’s exactly what we did – We made our very own version of the famous, super easy and most importantly, very safe Vinegar DIY Volcano experiment at home. It turned out to be a resounding success…so much so that we did it back to back four times in a row. Here are the steps and photos/video of our first attempt with side notes to how to do it better for the perusal of young science geeks in your respective homes. Enjoy!
Ingredients
- A medium-sized, thin glass jar
- Chart Paper (enough to cover the jar with a cone, made from the chart paper)
- Sticky Tape
- Paint or Sketch Pens
- Red Food Color
- Baking Soda
- Dish-washing Liquid
- A plastic cup or a regular 8 oz. glass
- A tray with edges high enough to contain the liquid waste of the experiment
Steps
1. Measure the height of the glass jar and cut a cone shape out of the chart paper making sure it is slightly taller than the height of the jar. NOTE: You don’t have to be neat at all!
2. Let your child color the cutout in shades of brown and/or red. NOTE: This is an absolutely optional step, you can very well use brown or red chart paper. But I used this step as a sneaky way to make sonny practice his writing/coloring skills. So do use this step if you have a child reluctant to write.
3. Once the coloring is complete, stick the two edges of the cone together with the help of sticky tape to form a cone shape (more or less!). NOTE: Again, no need to be neat.
4. Check the height of the cone with respect to the glass jar. Fold in the extra paper (if any) at the top of the cone to match the jar’s height.
5. Fill a plastic cup or a regular 8 oz. glass with vinegar (any kind you have) and mix in a few drops of dish-washing liquid and red food coloring to it. NOTE: Make sure that you are generous with the red coloring and the liquid turns dark red. Otherwise, you will end up with a pinkish volcanic eruption rather than red hot lava 😉
6. Now in the glass jar, add 2-3 tablespoons of baking soda and assemble it with the chart paper cone.
7. Place your “volcano mountain” on the tray and let your child pour in the colored vinegar solution into it slowly and let the magic happen!
NOTE: If your child is like mine, he will refuse to pour it himself because the volcano is supposed to be real (duh!) and the lava that will pour out is supposed to be “hot and burning”! Well, you have nothing to worry about here, this experimental lava is cold and absolutely safe, as my little scientist does discover in the end!


2 Comments
Now that is something my daughter will love to try. Great DIY. Thanks for sharing 🙂
At first I taught this was a huge strawberry ice cream. Anyways, I’ll definitely try it 🙂